Automating PRTG Displays
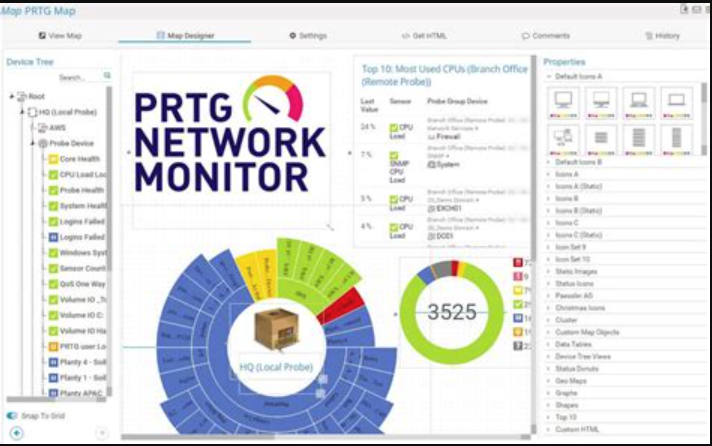
I modified the desktop auto-start to display Chromium in full screen mode after pointing a series of Raspberry Pi* units towards PRTG maps for some of our labs to display on televisions.
This was done by modifying the configuration directory, autostart, which for these particular units was accessed via: sudo mousepad /etc/xdg/lxsession/LXDE-pi/autostart
Next, a new line was added to start the browser and have it automatically load your chosen URL like so: @/usr/bin/chromium-browser --start-fullscreen --incognito https://www.website.com
Notes: You must make sure that the Chromium command and URL are both on the same line (no new line). I also added the incognito tag to prevent browser caching and circumvent “Chromium did not shut down properly/do you want to restore” message upon crash or loss of power.
Television Display/Pi Reimaging Process
Download Raspberry Pi Imager (Raspberry Pi Imager)
Under choose OS, Select Raspberry Pi OS 32 bit (A port of Debian with the Raspberry Pi desktop)
Choose storage → SD card
Click write.Install SD card into Pi and follow setup instructions.
Default Settings:User- pi
Password- raspberry
As always, it is highly recommended to change the default password to something more secure.
Setting a Static IP
Must edit dhcpcd.conf file as follows:
- Open terminal and type sudo nano /etc/dhcpcd.conf
- Edit following portion as appropriate:
interface NETWORK
static ip_address=STATIC_IP/24
static router=ROUTER_IP
static domain_name_servers=DNS_IP
Example:
interface eth0
static ip_address=192.168.26.31
static router=192.168.26.1
static domain_name_servers=8.8.8.8
Enable SSH and VNC
Using Raspberry Pi OS GUI:
- Click the Raspberry Pi logo in the top left corner
- Select preferences → Raspberry Pi configuration
- Navigate to the interfaces tab
- Select enabled for SSH and VNC
Using terminal:
- Open terminal and type sudo raspi-config
- Select interfacing options P2 and P3 for SSH and VNC respectively
- Select yes for both prompts
- Navigate down and hit enter on the Raspberry PI config utility to finish
- PI must restart for changes to be effective
Notes
This setup expects credentials for the Pi’s own VNC client. To set this up, click on the top right VNC viewer.
- Set encryption to “prefer off”
- Set authentication to “VNC password” and hit apply
- Use password of your choice
- Click OK
*Raspberry Pi is a trademark of Raspberry Pi Ltd
DisplayPiReimaging